Connect Notion
When you first enable N2O, the Setup Wizard opens automatically and walks you through connecting your Notion workspace. There are two connection options - both are available on the same step.
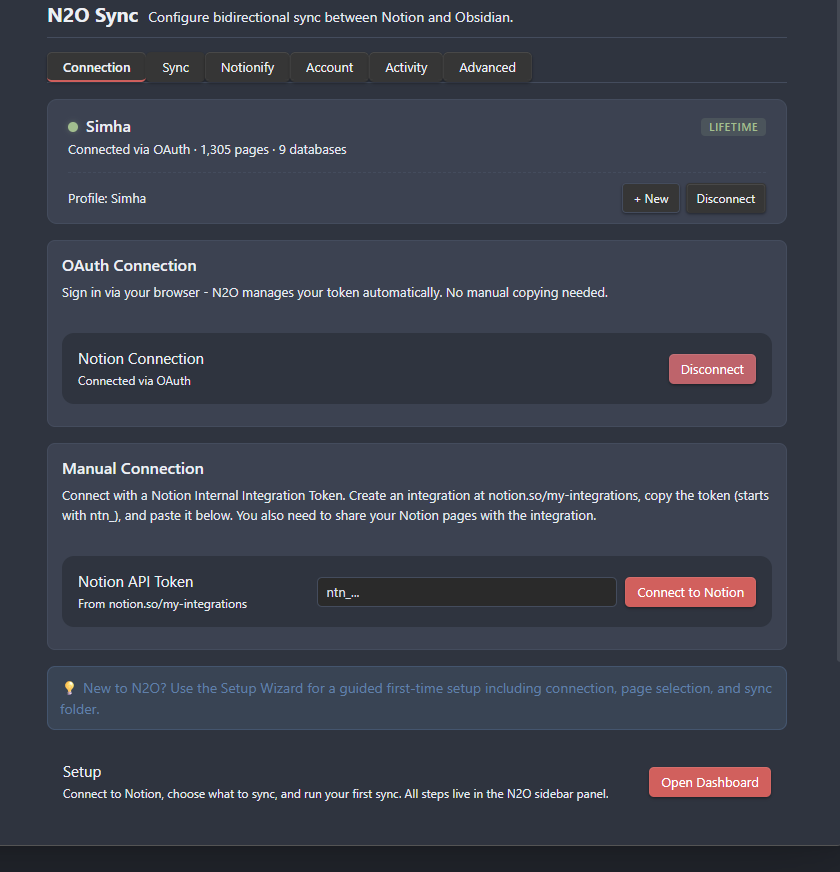
Automatic Setup (First Launch)
Section titled “Automatic Setup (First Launch)”Option A: OAuth (Recommended)
Section titled “Option A: OAuth (Recommended)”- In the Setup Wizard, click Connect to Notion.
- Your browser opens to Notion’s authorization page.
- Log in to Notion (if needed), select the pages you want to share, and click Allow access.
- Obsidian opens automatically - the wizard advances to the next step.
OAuth is the simplest path. Page access is configured during Notion’s authorization flow - no manual sharing required.
Option B: Manual Token
Section titled “Option B: Manual Token”Use this if you prefer explicit control over what the integration can access.
Create an integration:
- Go to notion.so/my-integrations.
- Click New integration.
- Give it a name (e.g., “N2O Sync”) and select your workspace.
- Under Capabilities, enable Read content, Update content, and Insert content.
- Click Submit, then copy the token - it starts with
ntn_.
Share pages with the integration:
Your integration can only access pages you explicitly share:
- Open a Notion page or database you want to sync.
- Click the ”…” menu (top-right), then Connections > Connect to, and select your integration.
- Sharing a parent page or database covers all its children - you don’t need to share each page individually.
Enter the token in the wizard:
Paste your token into the wizard’s token field and click Test & Continue. The wizard verifies the connection and shows your workspace name on success.
Reconnecting Later
Section titled “Reconnecting Later”If you need to change your Notion connection after setup:
- Go to Obsidian Settings > N2O Sync > Connection and update the token or re-authorize OAuth.
- Or open the Command Palette (
Ctrl/Cmd + P) and run N2O: Open Setup Wizard.
Next Steps
Section titled “Next Steps”With Notion connected, the wizard moves to scope and folder selection. When that’s done, you’re ready to run your first sync.